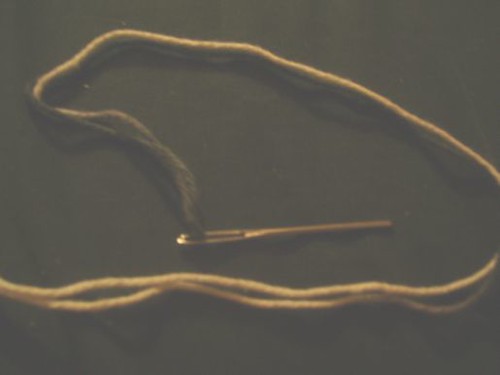
You need to start with a provisional cast on. I chose the crochet method, seen here. You also need to thread a tapestry needle with yarn the same thickness as your project yarn, or as close as you have to it, and move the needle to the center of the yarn, so it's doubled up. Like this.
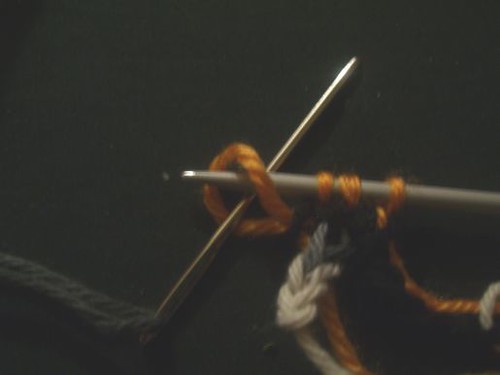
Once you have the needle threaded and your provisional cast on done, attach your project yarn and knit the first row normally, EXCEPT THE LAST STITCH. With the last stitch, you need to knit both front and back loops. You will have four stitches, like this.

Now, take your threaded tapestry needle and thread it into that fourth stitch, from left to right, like this.
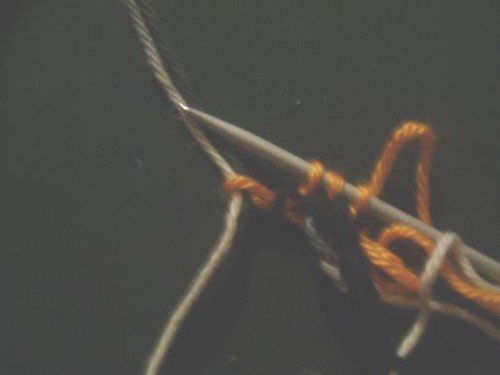
This stitch is being held as a 'waste stitch' and will be used later. Don't do anything to it now. Simply turn the work and knit across the other way. Two things; pull the working yarn so the waste stitch isn't huge. Don't pull too tight or it will be hard to work later on. The double stranded yarn helps keep this stitch the same size as your normal stitches. Also, do NOT slip the first stitch when you turn and knit across after making a waste stitch. You are already technically 'slipping' a stitch, the waste stitch. Slipping the first stitch still on your knitting needle will cause you to skip one and will distort the fabric and leave a large strand going across. Knit all stitches on the wrong side.
On the right side again, you can slip the first stitch. The right edge on the front side doesn't have waste stitches, so you can slip that first stitch if you so desire. I personally do it because I think it looks neater. Increase in the final stitch again, thread that stitch onto your needle, turn, tug the yarn gently, knit across. Keep doing this until you have three stitches on your tapestry needle.
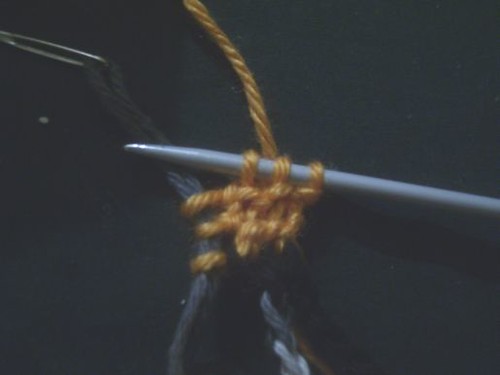
Knit across the row, slipping the first stitch if desired. Do not increase this time. You will now transfer the held stitches onto your left hand needle (I picked them up directly from the tapestry needle with my right hand needle, dropped the tapestry needle, and moved those 3 unworked stitches to the left hand neeedle). Knit across those stitches.
The three stitches on the right were the original three we cast on. The three on the left were the three held stitches we got from increasing and then held on the waste yarn. Now just unravel your provisional cast on, pick up and knit those stitches, and proceed with your pattern like normal.

It might seem like a lot of steps but it's very easy once you know how it works. This cast on looks very neat and all stitches look almost exactly the same, unlike a standard garter tab which can leave your knitting distorted, you may accidentally pick up different strands of yarn, and is very fiddly and awkward to do.